
Creating and configuring Corporate Email of our Website

For a long time it was a dream to be able to have a professional email or rather a Corporate email for your company. Today it is very easy and above all cheaper than we thought, we just have to have a decent hosting for our website and we can create our corporate emails with the name we want. In previous posts “Buying recommended hosting” we have commented on the importance of hiring a competent Hosting service so as not to be limited with things like this. For this reason, we recommend some Hosting such as the one in the following link.

Creating Corporate Email

We go to the main page of our Hosting and click on the part that says “Customer Login”.
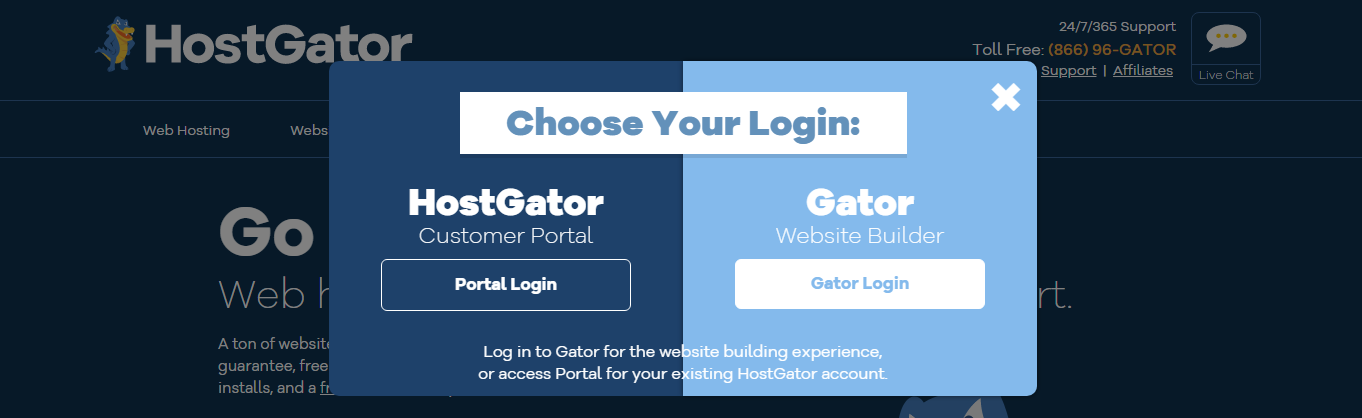
We enter the “Cursomer Portal” part and click on “Portal Login”, we enter our email and password.
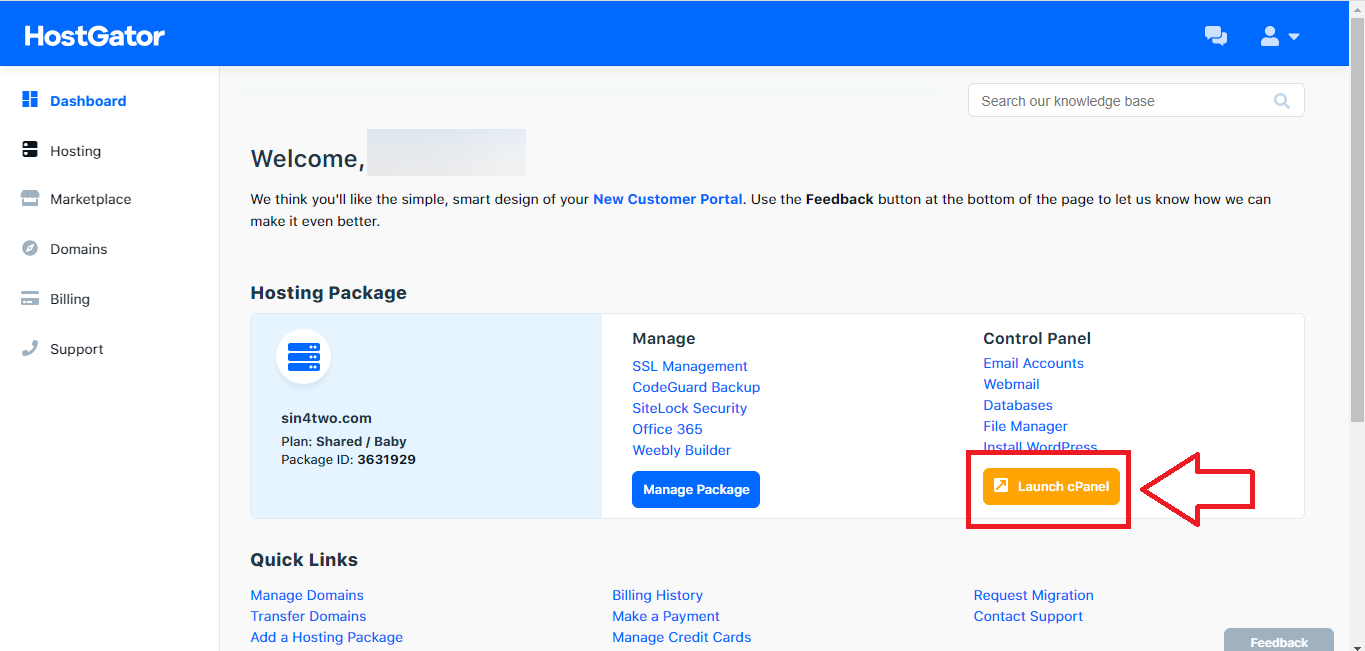
Already within your Hosting account we click on the part where it says “Launch Cpanel” to go to Cpanel and be able to create our corporate email.
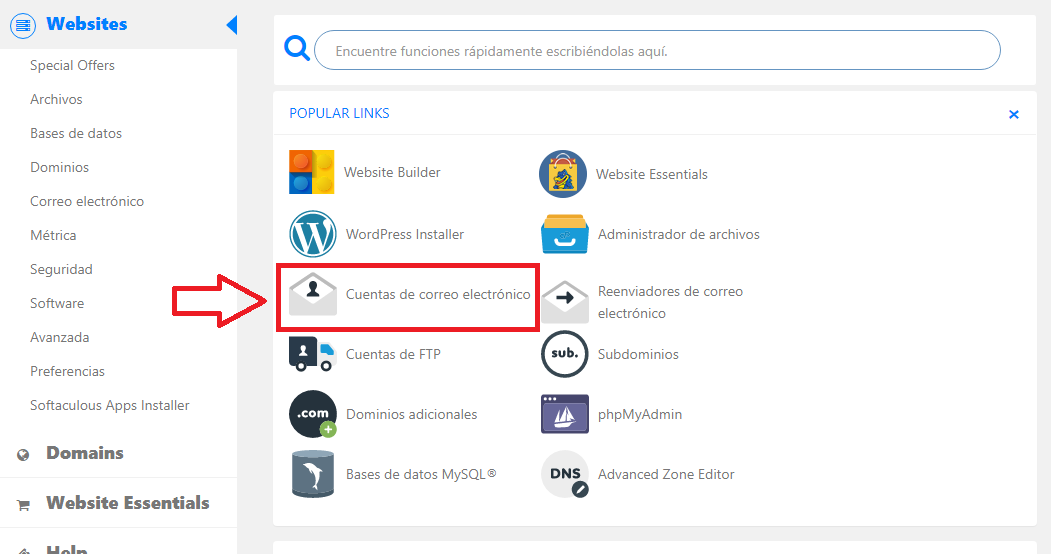
We click on the part that says “Email Accounts”.
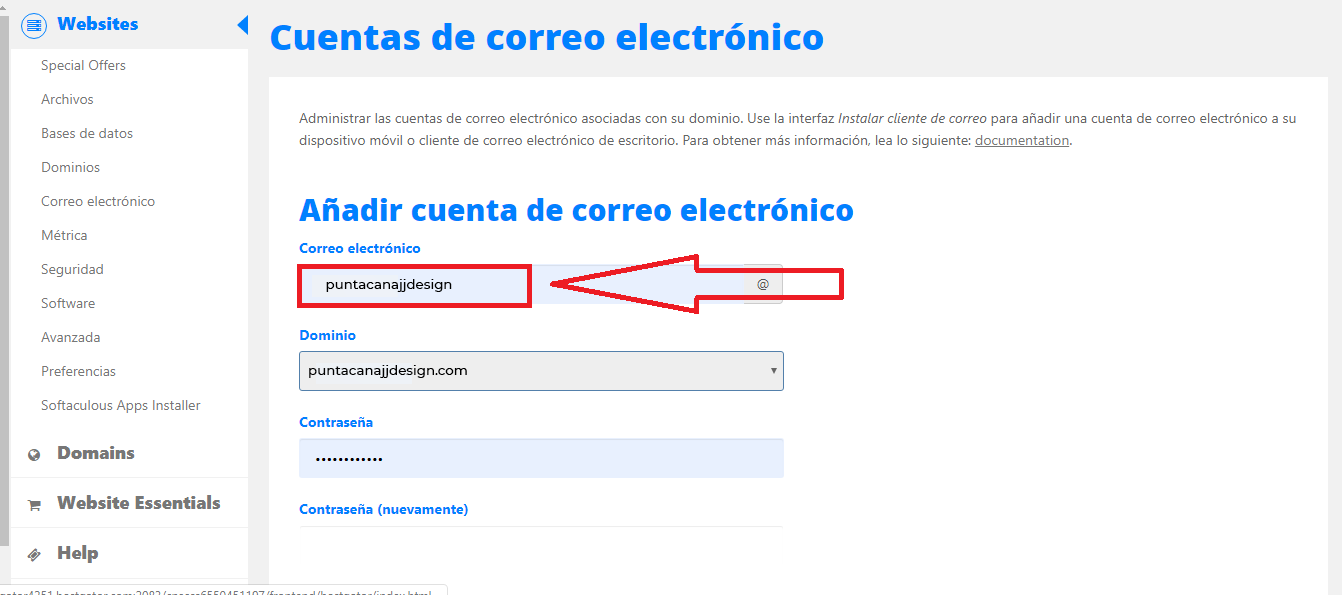
We write the name of the email that we are going to create. An example can be “info” and we confirm that in the part where it says “Domain” is the domain we want, if you only have one domain on your Hosting Server, only the available one will appear, if you have more click on the domain part and select the one you want.
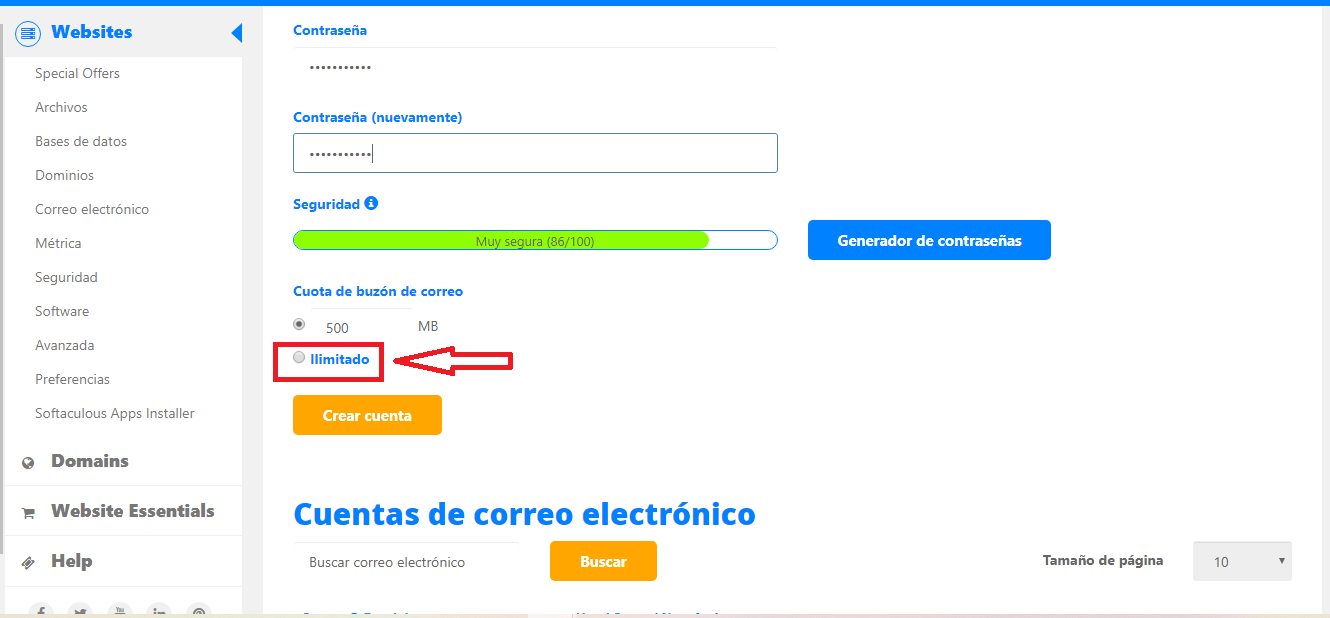
Here we select if you want to limit the size of your Email or leave it unlimited, I am one of those who put it unlimited and we click “Create Account” and that’s it, we already have a Corporate email account for our website, or rather for our business.
Accessing our Corporate Email through our website.
This is very easy, we just have to enter our website and add “/ webmail” to the end of our domain. An example would be, if your domain is www.puntacanajjdesign.com to access our corporate email we will only have to write it in the following way www.puntacanajjdesign.com/webmail in this way they will send us to the next page.
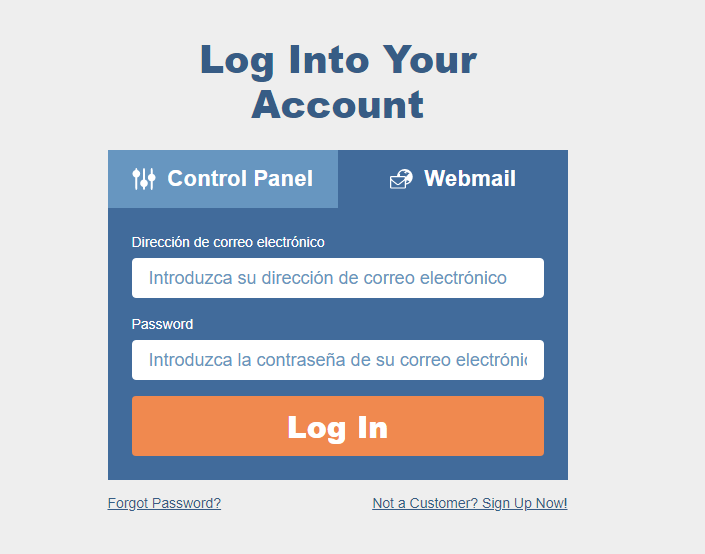
In this part we only have to enter the email and password that we have just created.
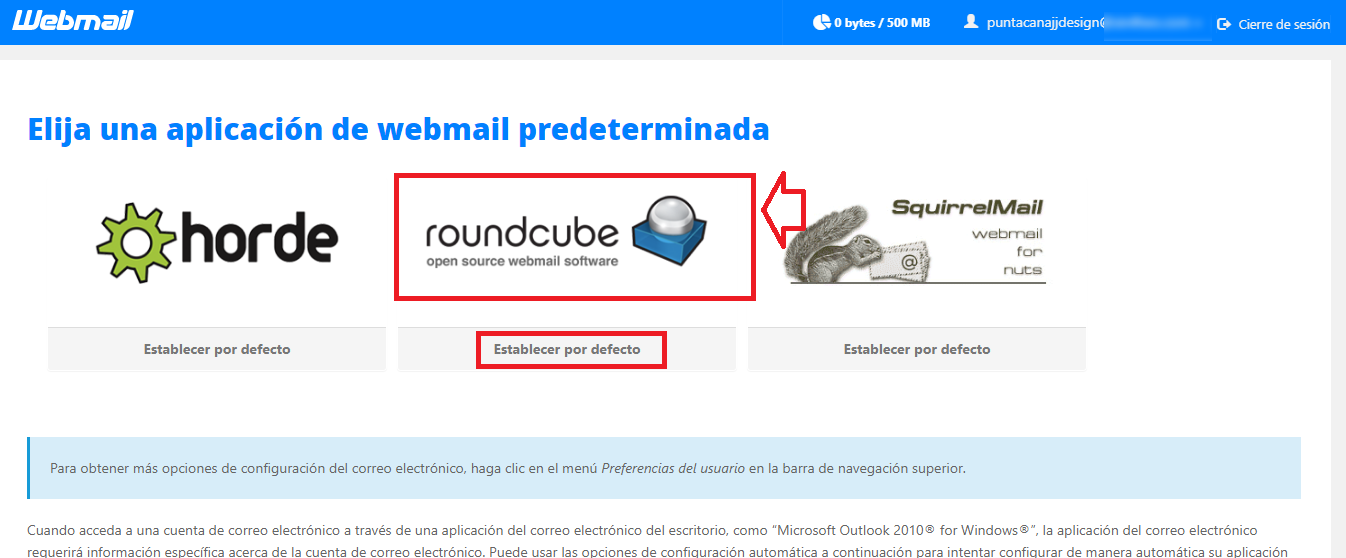
The first time we enter this window, these are the applications to access our corporate email, the most recommended are the first two, I prefer the one marked in red.
If you enter very often and you always prefer to use “roundcube” then I recommend that before entering you click on “Set as default” this will make the next time we enter our mail “/ webmail” it will automatically enter the “Roundcube” application .
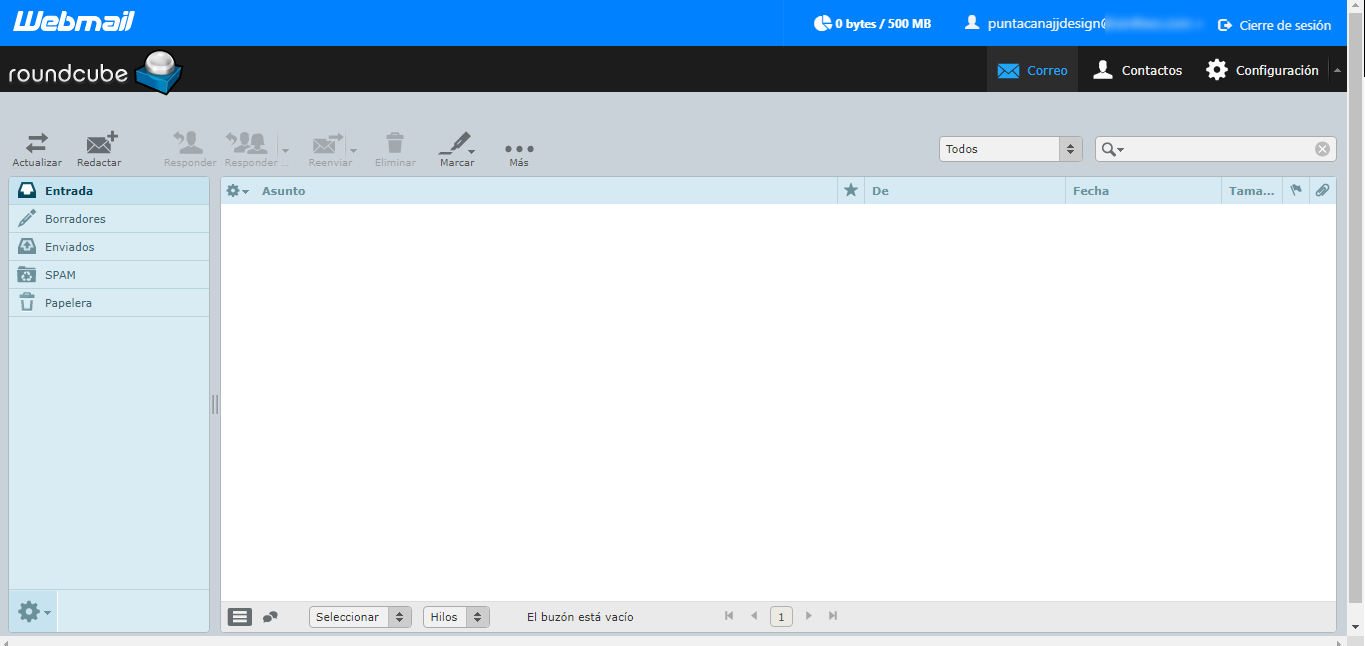
This is the “Roundcube” application where we can receive and send emails.
Setting up our Corporate Email in the Thunderbird PC application
For this, the first thing we have to do is download and install the thunderbird application I use and I recommend this because it is a very good application and it is totally free, in the same way this example will serve to configure corporate email in any other application such as Office Outlook or even configure it on your cell phone.
After having installed our program we have to return to our Cpanel to see the configurations that we will need for the application.
We go back to the part of “Email accounts”
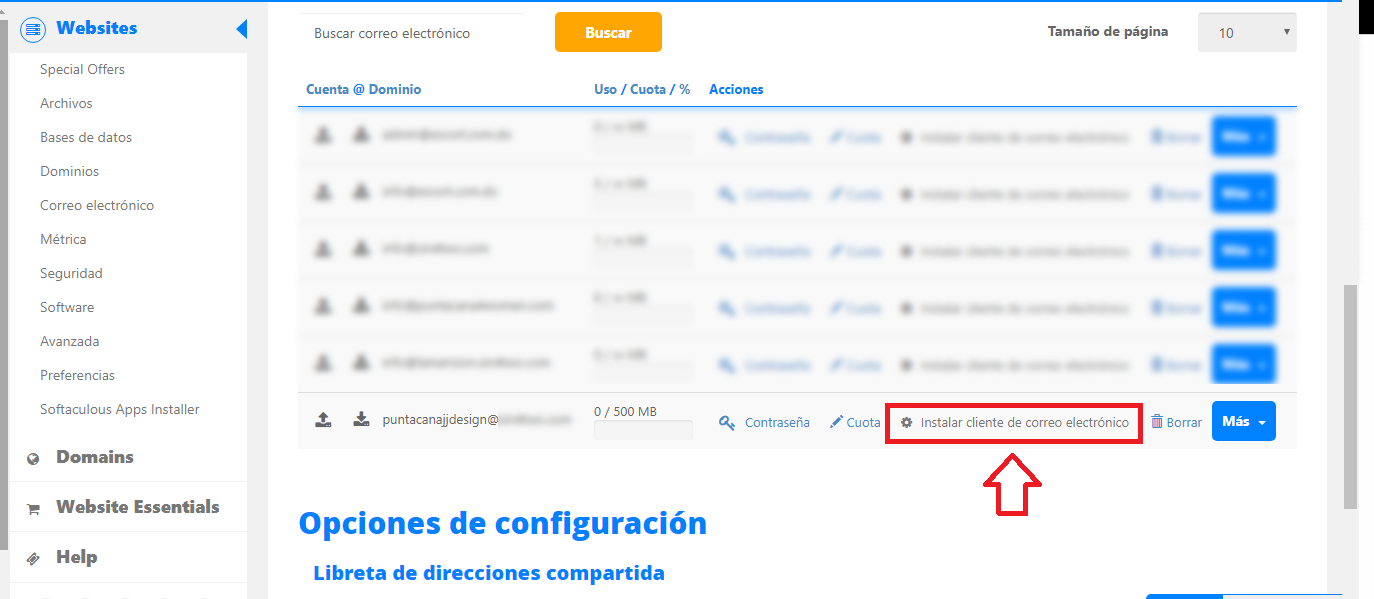
We go down to the part where it will show us all the emails created and we click on the part that says “Install email client”.
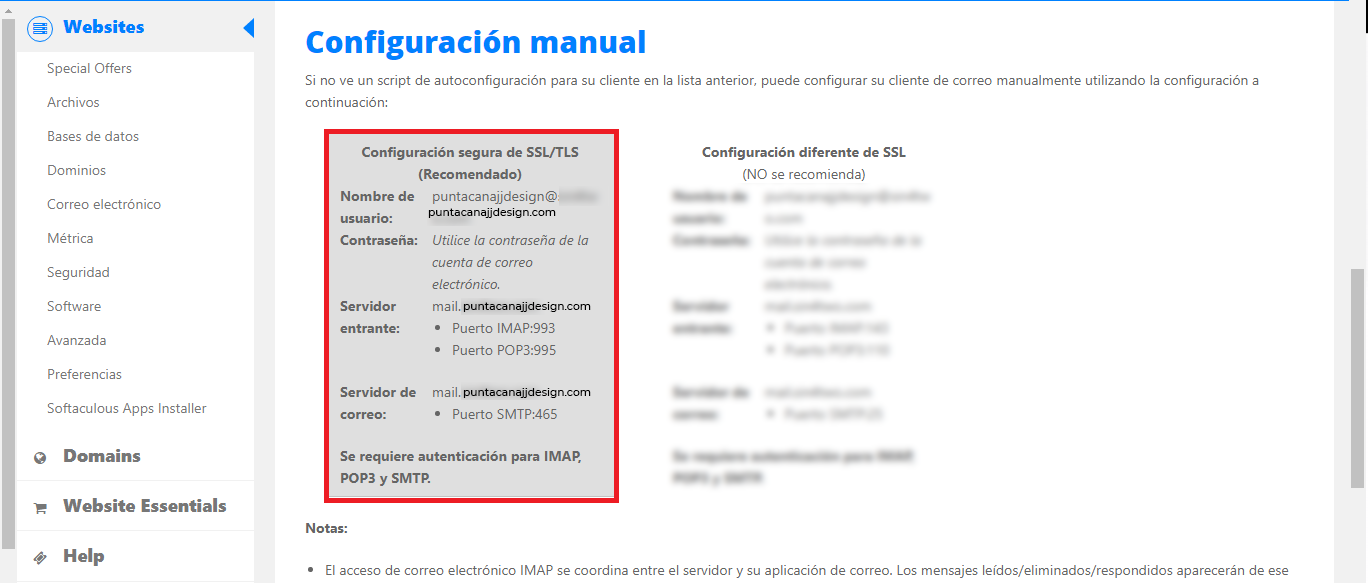
This is the most important part to be able to configure our corporate email in our application for the PC.
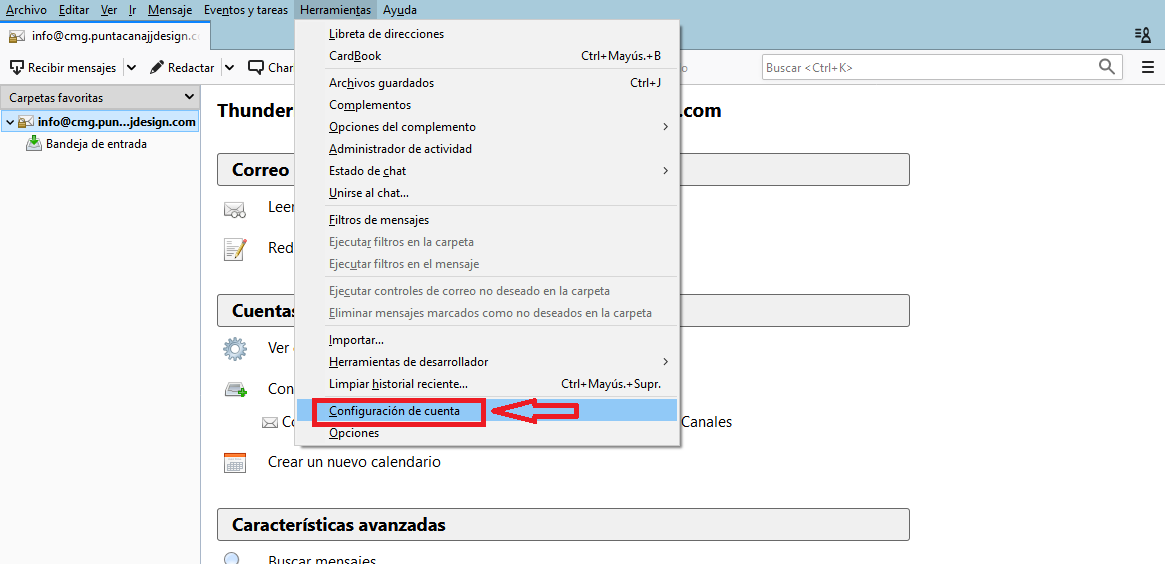
Within the Thunderbird application, go to “Tools” and click on “Account Settings”.
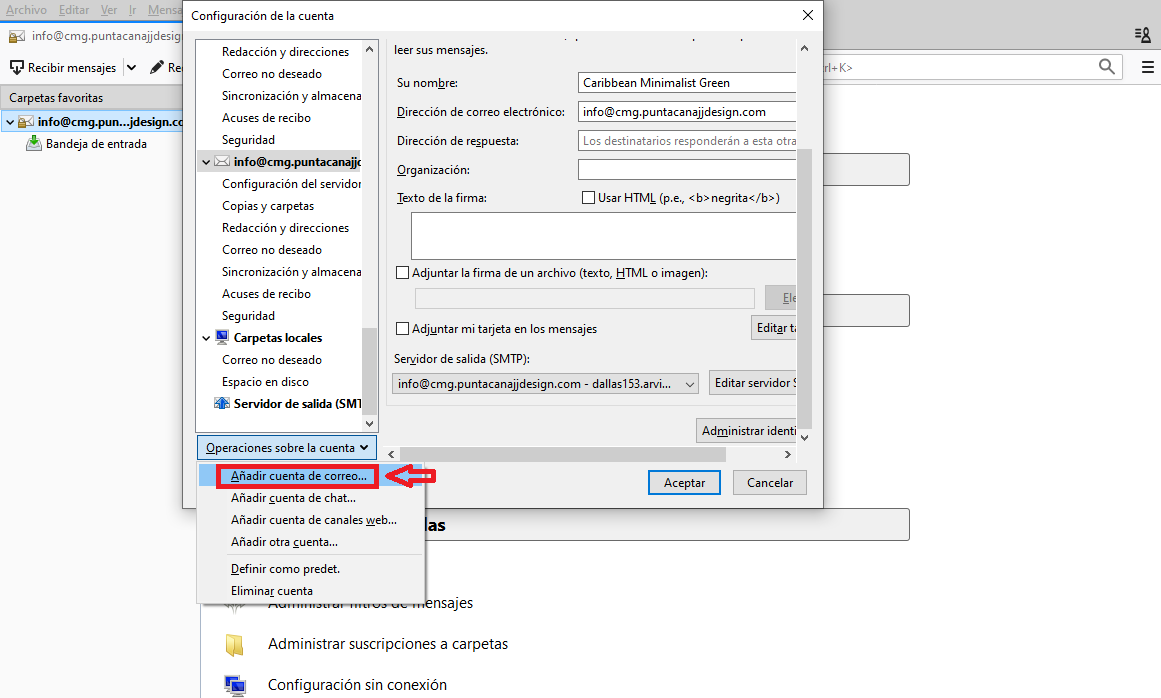
We go at the bottom where it says “Operations on the account” and we click on “Add email account”.
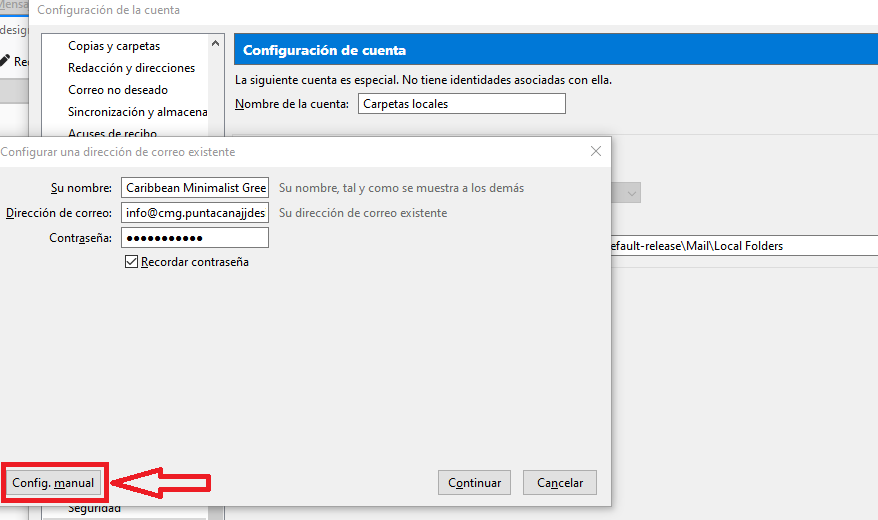
We put the name as you want it to appear when they receive an email from you, put the email and password, put the option “Remember password” and go to the bottom and click on “Manual settings”.
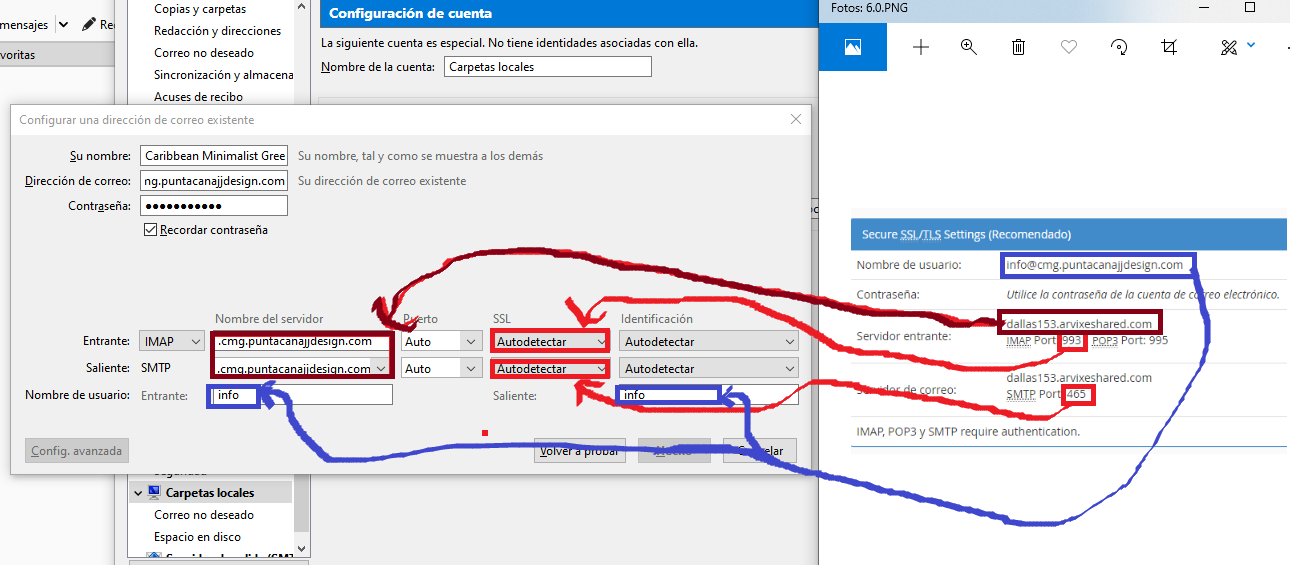
Using the configuration of our email that we saw in previous images we fill in and change the data in this area. Note: Do not make fun: D XD that although this funny is understood.
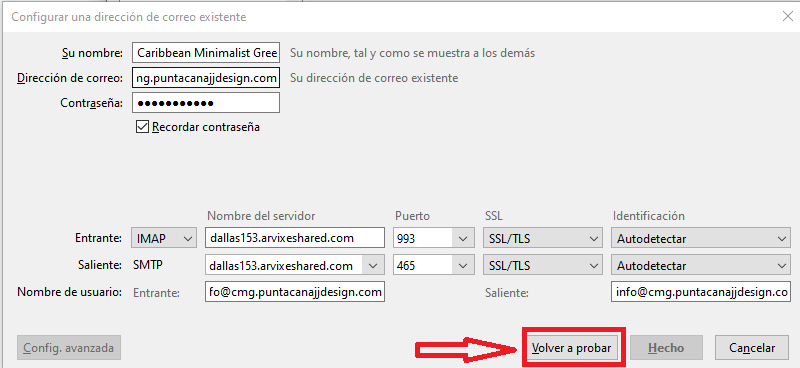
We click on “Try again” and then click on “Done”.

And voila, we already have our corporate email configured on our PC.
Setting up our Corporate Email on the GMAIL page
Most of us are already very familiar with Gmail and for this reason it is our favorite email and using another interface to check our emails is already rare, if this is your case you can configure your Corporate Email account in your Gmail account. personal.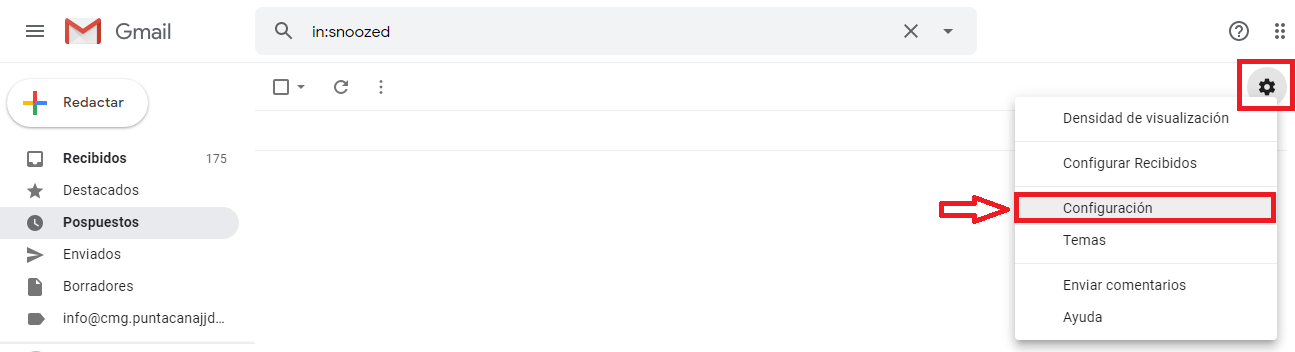
Within your Gmail account you go to the little nut and then click on “Settings”.
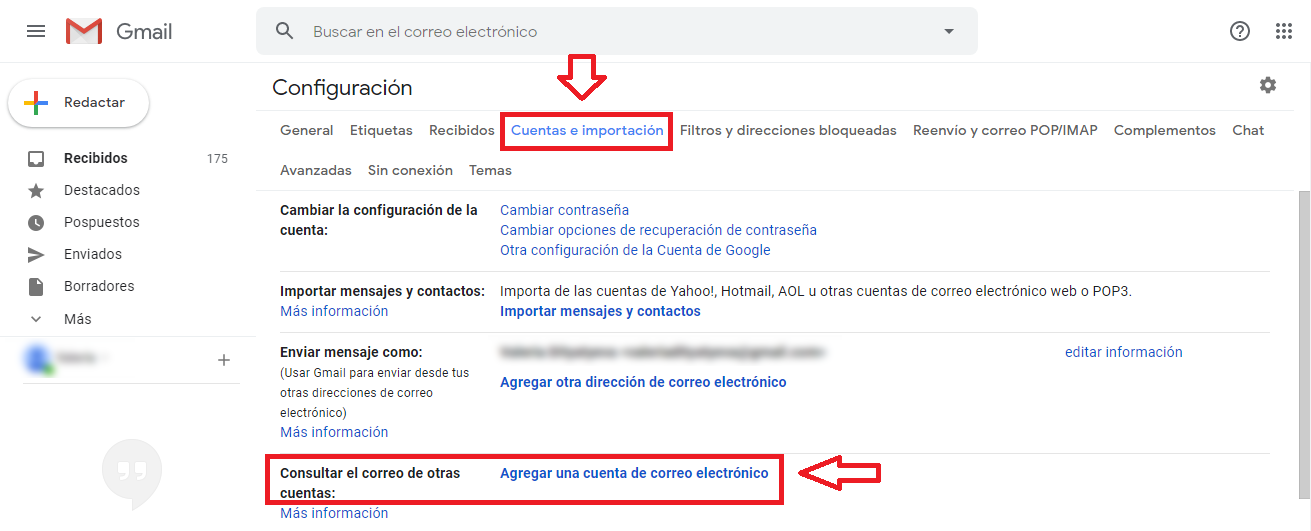
Within Configuration we click on the tab that says “Accounts and imports”. Then we click below where it says Add an email account in the part of “Check email from other accounts:”
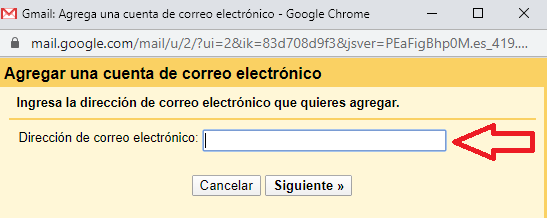
We put the corporate email that we just created.
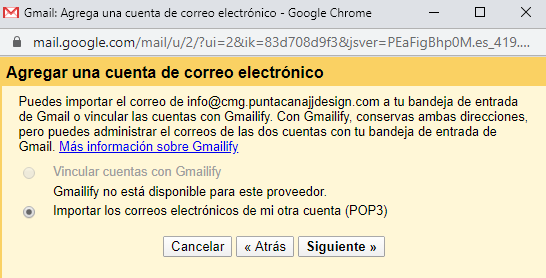
Being an account other than Hotmail, Yahoo or one of those known only gives us the option to “import the emails from my other account (POP3) and we click” Next “.
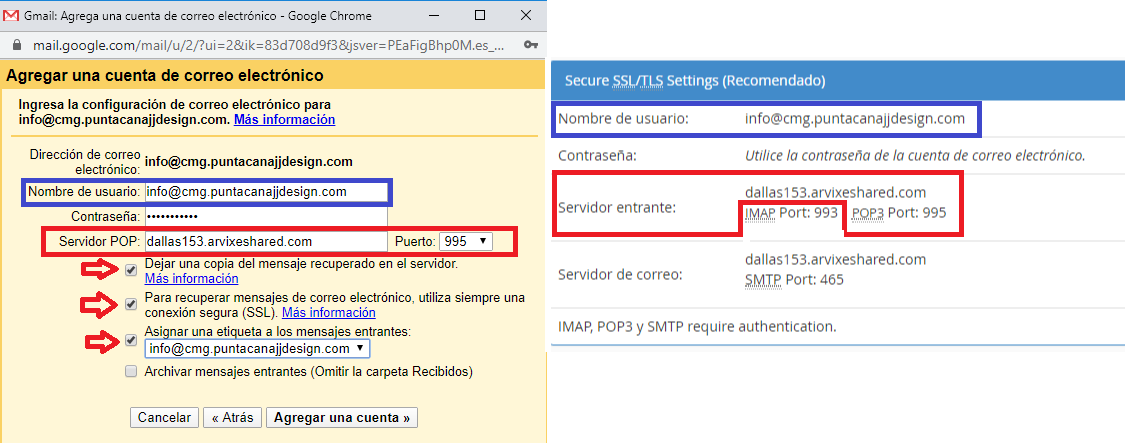
In this step we are going to fill it in with the data that the configuration of our email account gives us in our Cpanel. If you don’t remember where to find it, go back above to the part about:
Setting up our Corporate Email in the Thunderbird PC application.
We put the mail and the server of our server and the port as indicated in the image. We select the first 3 boxes and click on “Add an account”.
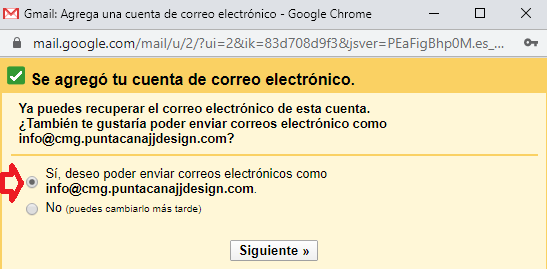
We see that it is marked “Yes” in order to answer or send emails from our Gmail with our corporate email and we click on “Next”.
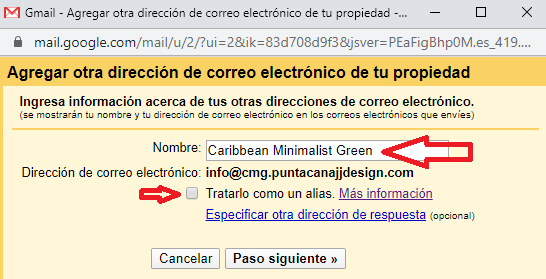
We put the name that will appear when someone receives our mail, and unchecking the box “treat it as an alias” and click on “Next Step”.

We fill in this data again with the configuration of our email account in our Cpanel. We put the server of our server and the port as indicated in the image, then email and password. Let’s see that the “Secure connection via SSL (Recommended)” is selected and click on “Add an account”.
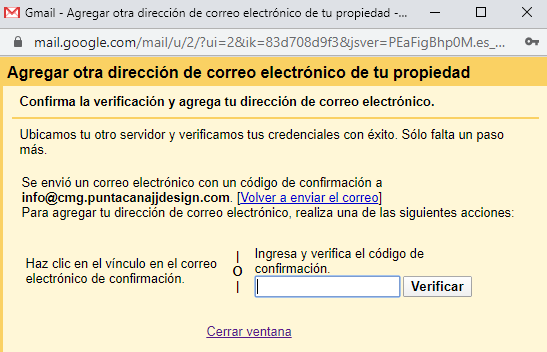
You will receive an email to the corporate email, you can check it in your email through Webmail, to thunderbird if you configured it and it is possible that even gmail itself. The email will have a code that you must copy and paste in this area.
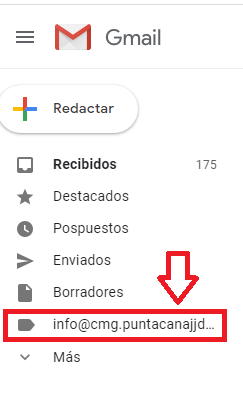
And that’s it, our corporate email will be configured in your gmail account.